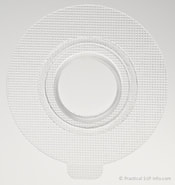
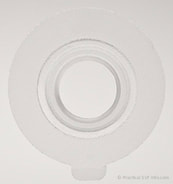
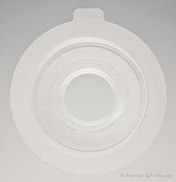
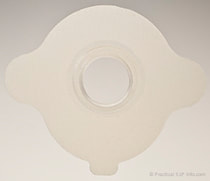
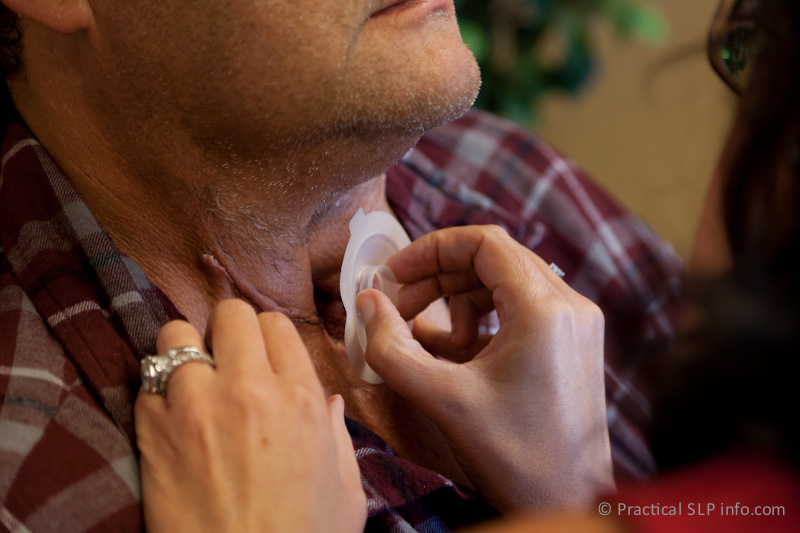
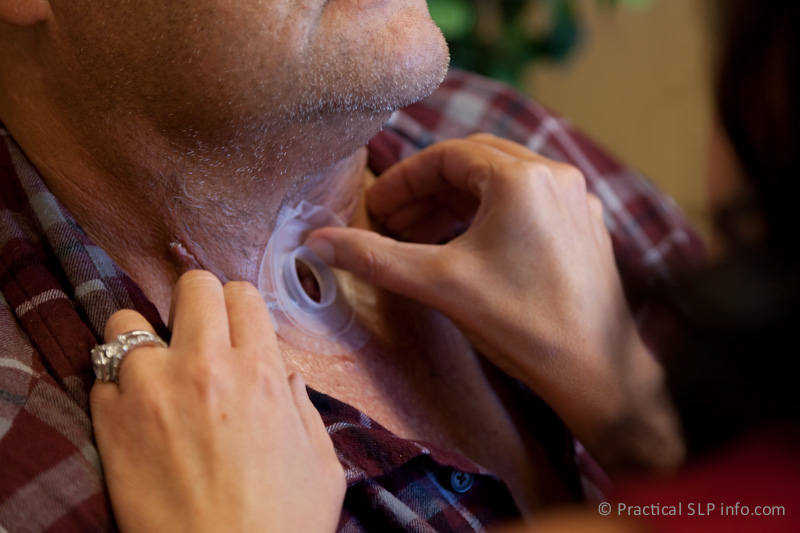
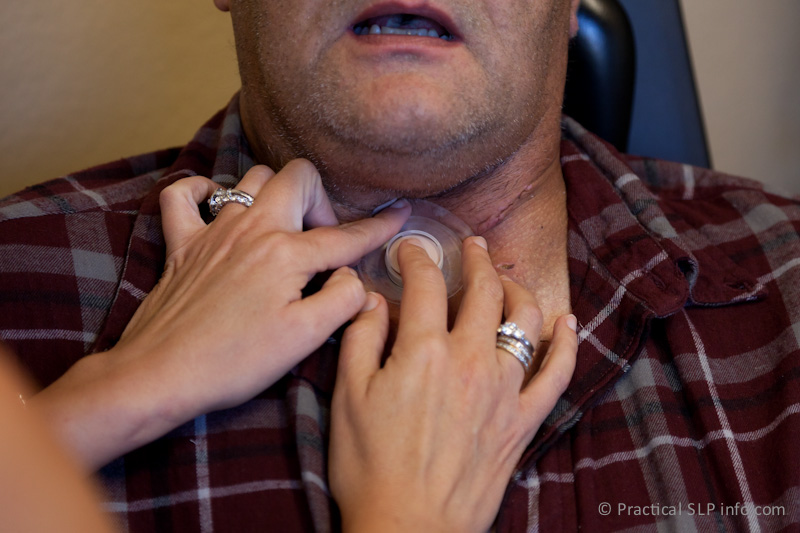
There are several varieties of adhesive housing, all designed to meet the unique and different needs of each patient. The SLP staff will determine which version is most appropriate for you, and this may change as the surface of your neck changes with continued healing and/or aging. The following instructions apply to any/all versions of adhesive housing. Even if the version of adhesive you are using changes, you will continue to apply it in the same manner described below. BE SURE YOU ARE SEATED IN A WELL-LIT AREA AND ARE USING A MIRROR.
How to apply the Provox Stabilibase adhesive
Click here to download the "how to" as A PDF.
STEP 1: PREPARING THE SKIN AROUND THE STOMA
|
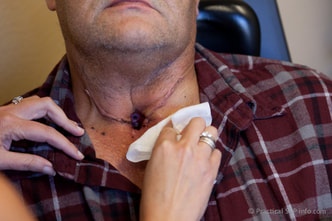
The skin around the stoma should be thoroughly cleaned. There are special cleaning wipes that can be used, although non-irritating soap and water is equally effective. Be sure to remove any dirt or debris in the area. This includes any dry mucous crusting. Be sure the skin is dry before moving to the next step. |
There should also be no hair growth in the area surrounding the stoma. Any whiskers or chest hair should be either shaved with an electric shaver, tweezed or plucked. Hair will interfere with achieving a good seal or adhesion between the skin and the adhesive housing.
STEP 2: BARRIER WIPE
|
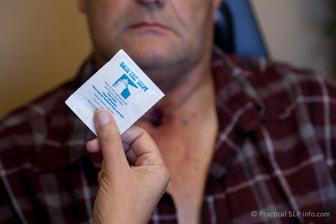
This is an extremely important step, especially if the skin around the stoma is sensitive to the adhesives. Skin Prep is commonly used for this purpose. Be sure to stop breathing for the period of time you are applying the wipe around the stoma as there is a moderate odor that can be irritating to inhale. It is important the barrier wipe thoroughly coat the skin where the adhesive will be contacting. If necessary, apply the wipe to a larger area than the housing will require. This will ensure adequate protection and no “missed” areas. |
Step 3: Adhesive Wipe
|
If it is determined you will benefit from stronger adhesive, the SLP staff will recommend the Skin-Tac wipe. This will also lay down a barrier, similar to the skin prep, although this will leave a “tacky” surface. As such, any skin the wipe contacts will remain sticky. With practice, you will learn where the boundaries of the housing typically are. Keeping the adhesive wipe limited to this area will help from having a sticky residue around your housing after it’s applied. |
Once applied, it is important to allow this to air dry until a “tacky” or sticky surface is noted. It should feel sticky, not wet. Once this happens, you are ready to apply the adhesive.
Step 4: Applying the Housing
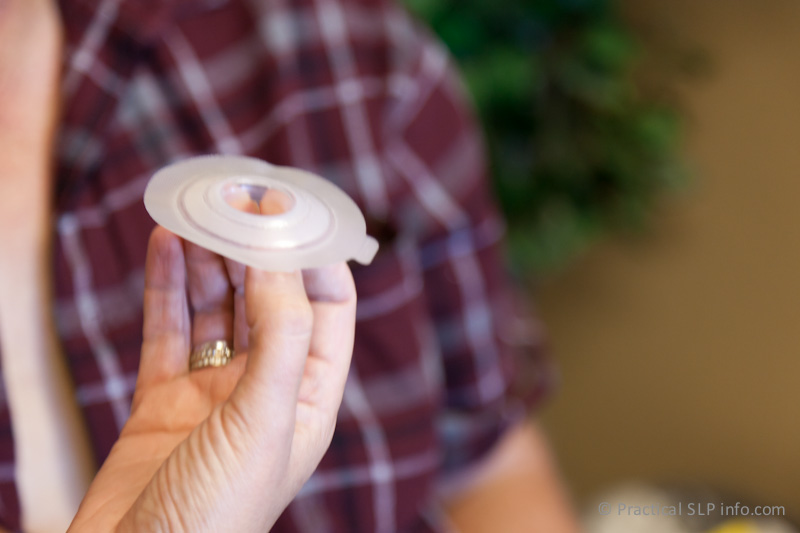
During this step, it is important you do not handle the sticky surfaces of the housing after the backing is removed. The central ring is an ideal place to hold the housing, and there is a tab on every housing that is also free from adhesive. Using these points, you will be able to handle the housing without disrupting the adhesive backing.
While you are able to clearly see your stoma, apply the housing to the skin around the stoma, first pressing the ring to the skin, then working the adhesive outward from the middle, being careful to ensure there are no creases in the adhesive and that the adhesive is pressed into any creases or folds in your skin. THIS IS TRICKY! BUT WITH PRACTICE, YOU WILL QUICKLY BECOME A PRO!
* It is important you DO NOT center the ring around the stoma, with the stoma squarely in the middle. INSTEAD, you want to try to align the bottom of the stoma, with the bottom of the ring. This is not critical, but the larger the gap between the bottom of the stoma and the ring, the more you will collect secretions in the gap. This pooling will break down the seal more quickly than if there was proper alignment.
How to remove an adhesive
- Use one hand to stretch the skin around the stoma to be as smooth as possible, while using the other hand to apply the adhesive.
- Apply the bottom of the ring first, aligning with the bottom of the stoma. This will help with achieving the best alignment here.
- Press the ring solidly to the skin before allowing the adhesive to really settle of the skin.
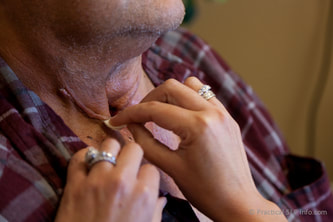
- Use a fingernail to seal around the edges of the ring, then move outward, careful to smooth out any creases or bubbles in the adhesive.
- Stretch any loose or creased skin so that it is as smooth as possible below the adhesive as you work your way around.
- Use your fingernail to press the adhesive into any deep creases or seams in the skin.
- Warming the adhesive housing first, either holding against the torso for a few minutes or using a blow-dryer on low can also help ensure a good seal.
- Allow 30 minutes after applying the adhesive, before speaking.
- Some patients find the use of medical grade silicone glue helps improve the seal and prolong the life of the adhesive housing (not recommended for use with OptiDerm).
AT FIRST, THIS CAN BE A FRUSTRATING EFFORT, BUT IT WILL GET EASIER THE MORE YOU DO IT. KEEP TRYING! SOON, IT WILL BE AS EASY AND NATURAL AS BRUSHING YOUR TEETH!

